2. Getting started
2.1 Create an account
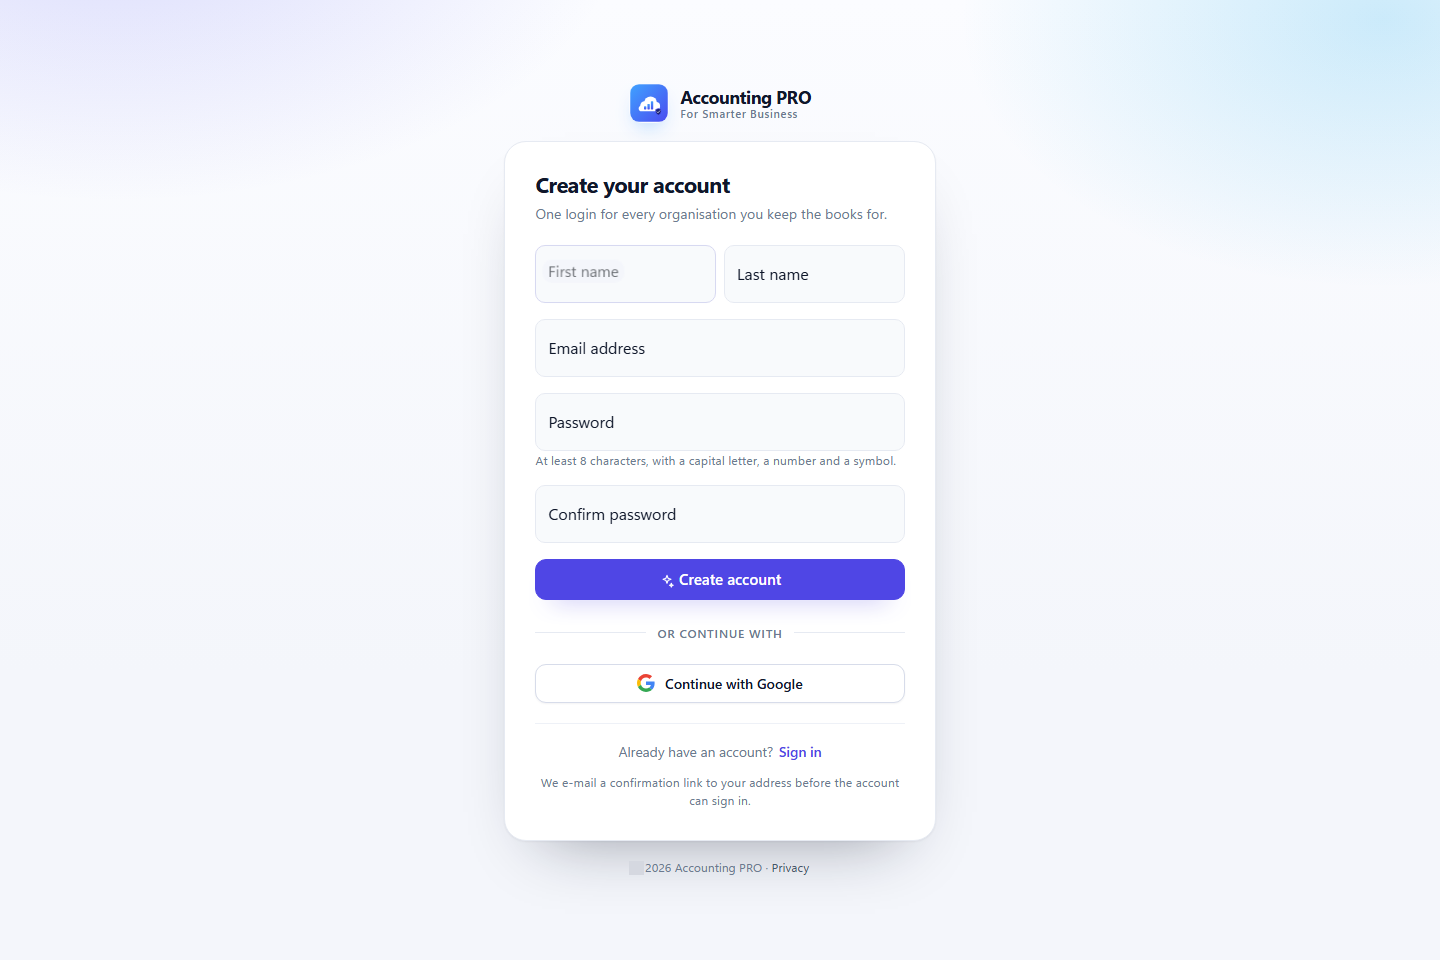
- Open the application and choose Create your account (or go to https://accounting.reddot.nz/Identity/Account/Register).
- Enter your first name, last name, email address and a password. The password must be at least eight characters and contain a capital letter, a number and a symbol.
- Confirm the password and select Create account.
- Alternatively, select Continue with Google. Google sign-in is available only when the application has been configured with a Google OAuth client.
2.2 Confirm your email address
The account cannot sign in until the email address is confirmed. Accounting PRO sends a confirmation message containing a single-use link. After registration the application shows a confirmation screen; open the link from your inbox to activate the account.
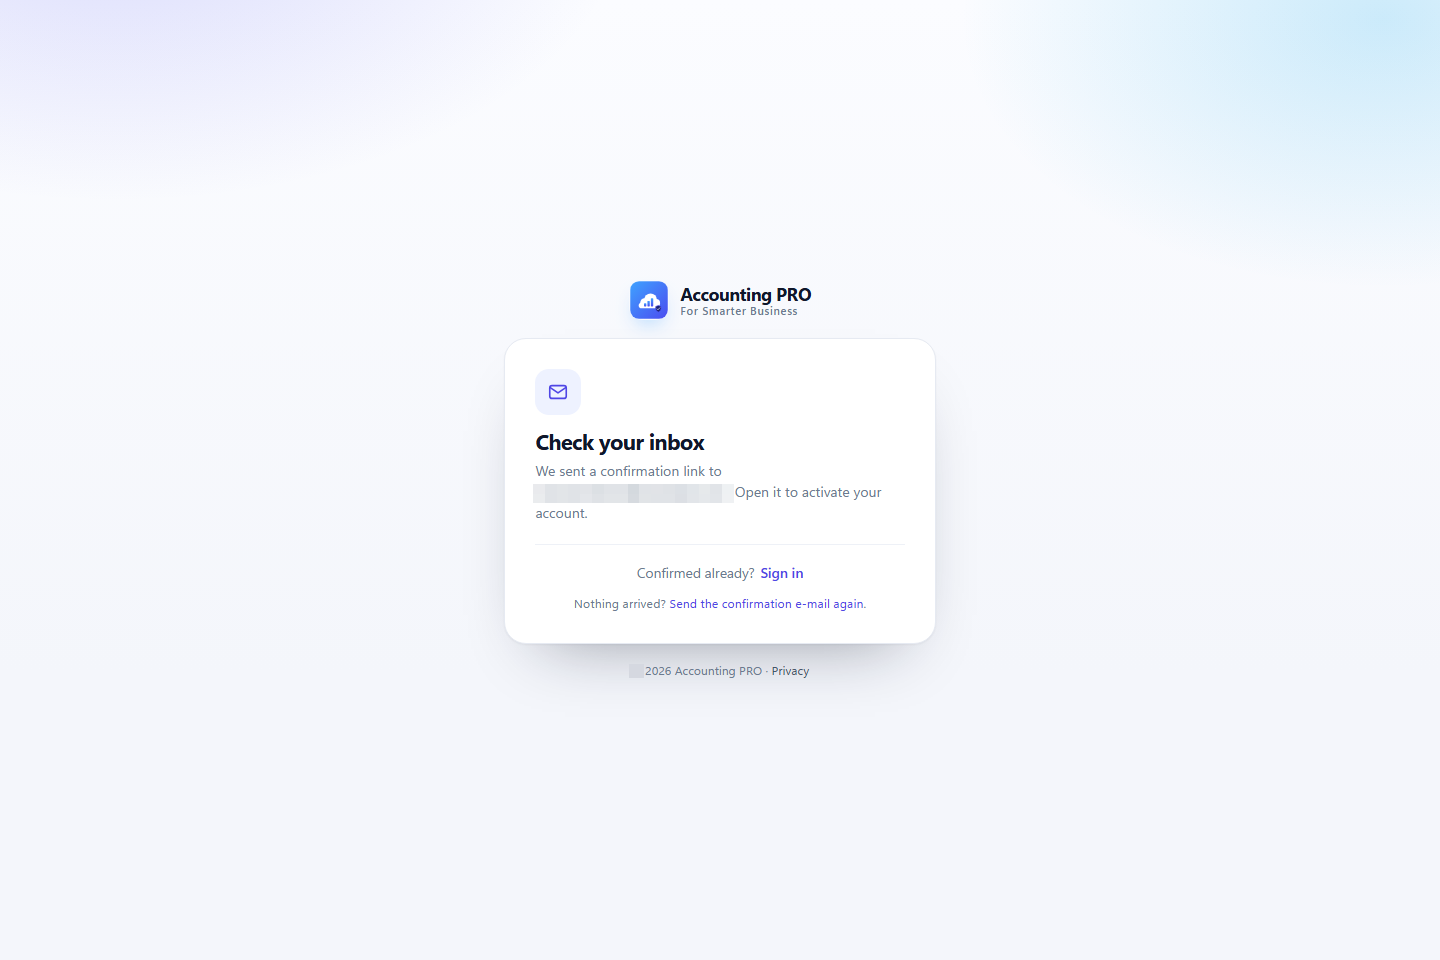
If the message does not arrive, check the spam folder and use Resend it on the sign-in page. In a development environment the email may only be written to the application log instead of being delivered.
2.3 Sign in
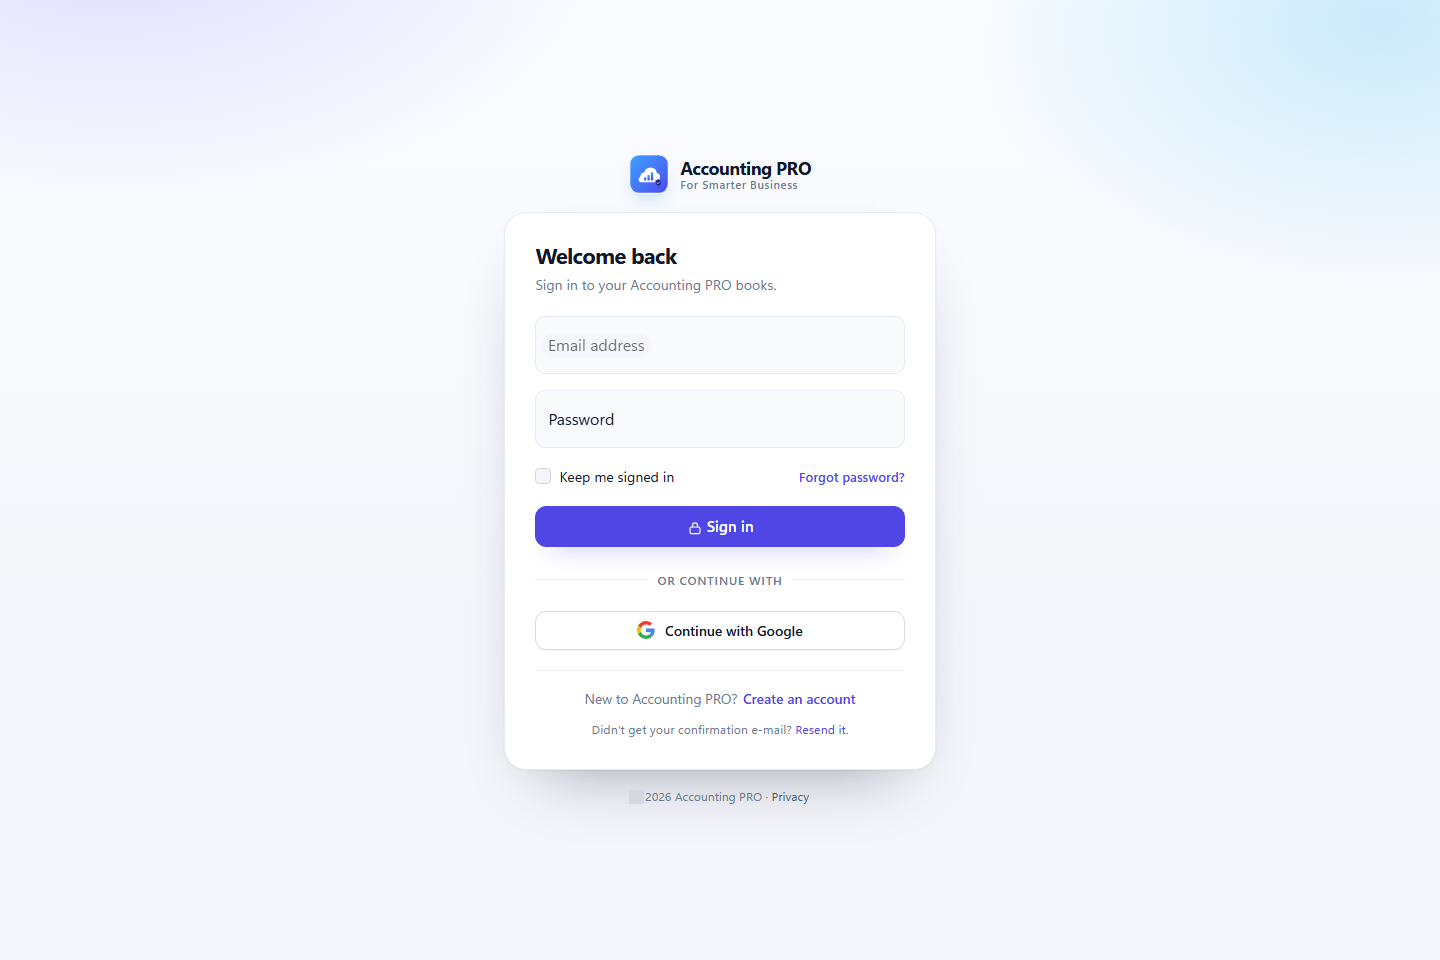
- Go to Sign in (https://accounting.reddot.nz/Identity/Account/Login).
- Enter your email address and password.
- Optionally tick Remember me.
- Select Sign in.
Use Forgot password? to request a reset link, or Resend it to resend the confirmation email.
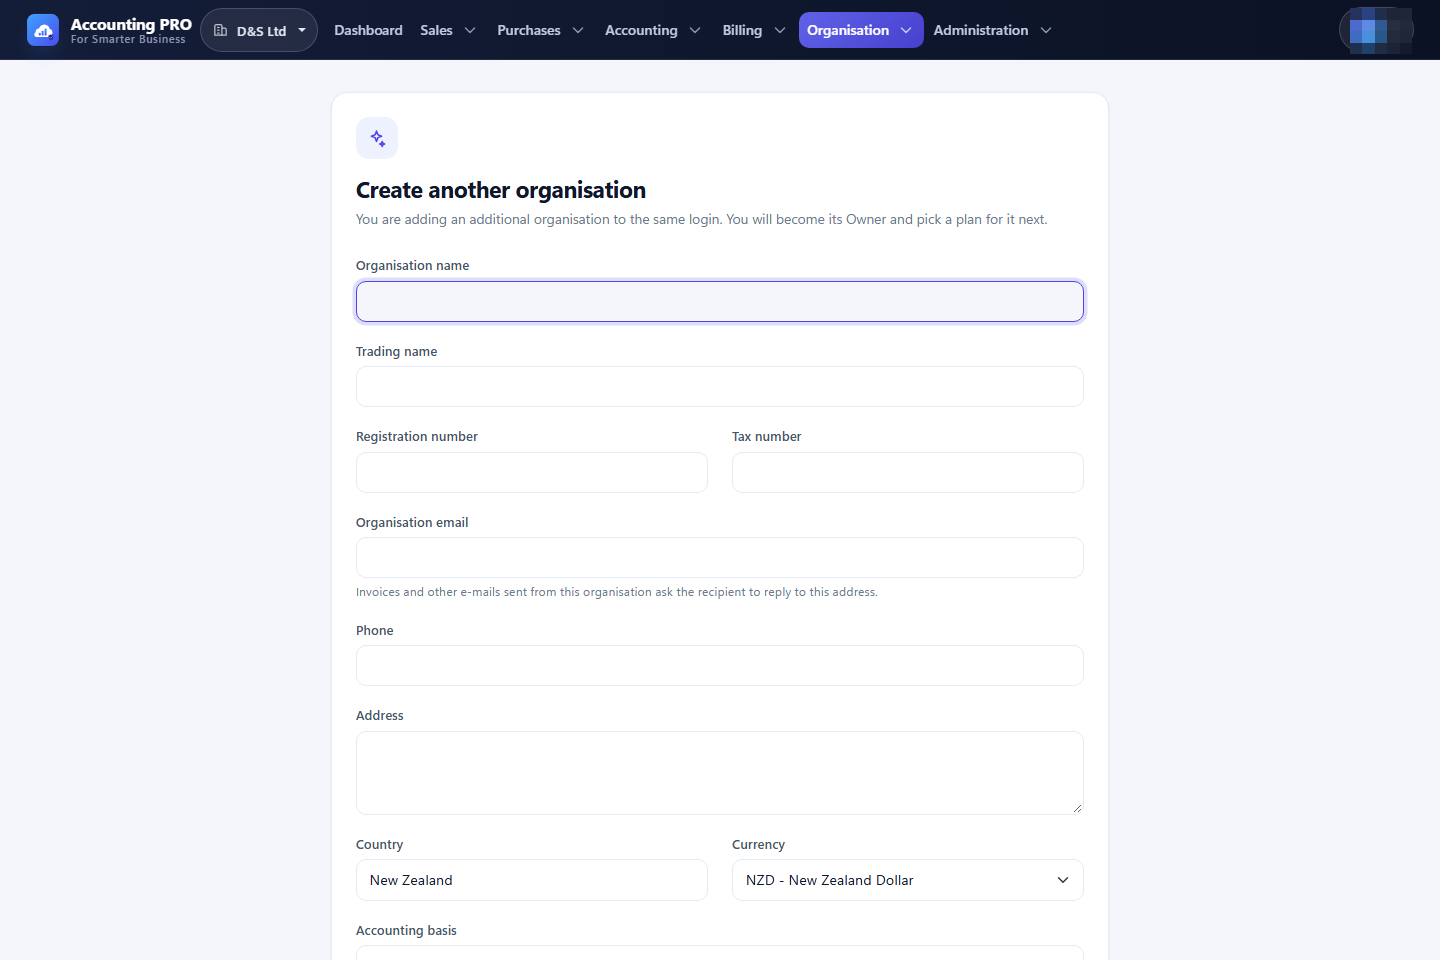
2.4 Create your first organisation
A login can belong to any number of organisations. After confirmation, the application guides you to create the first one; there is no dashboard until an organisation exists.
- Enter the organisation name (required), then optionally the trading name, NZBN/registration number and tax (GST) number.
- Enter the organisation's email address — invoice and invitation emails use it as the reply-to address — plus phone and postal address.
- Choose the country, currency (NZD by default) and accounting basis (accrual or cash).
- Select Create organisation.
Creating an organisation also creates, in one transaction:
- the six default roles (Owner, Administrator, Accountant, Bookkeeper, Sales, ReadOnly);
- a chart of accounts copied from the account template;
- the default tax rates;
- your membership as Owner.
2.5 Choose a plan
The new organisation needs a subscription before the dashboard opens.
- Free plans activate immediately.
- Paid plans start with a 90-day free trial; no payment is taken today.
- Choose monthly or annual billing for a paid plan.
Select a plan to continue. The trial can be changed later from Billing → My subscription.
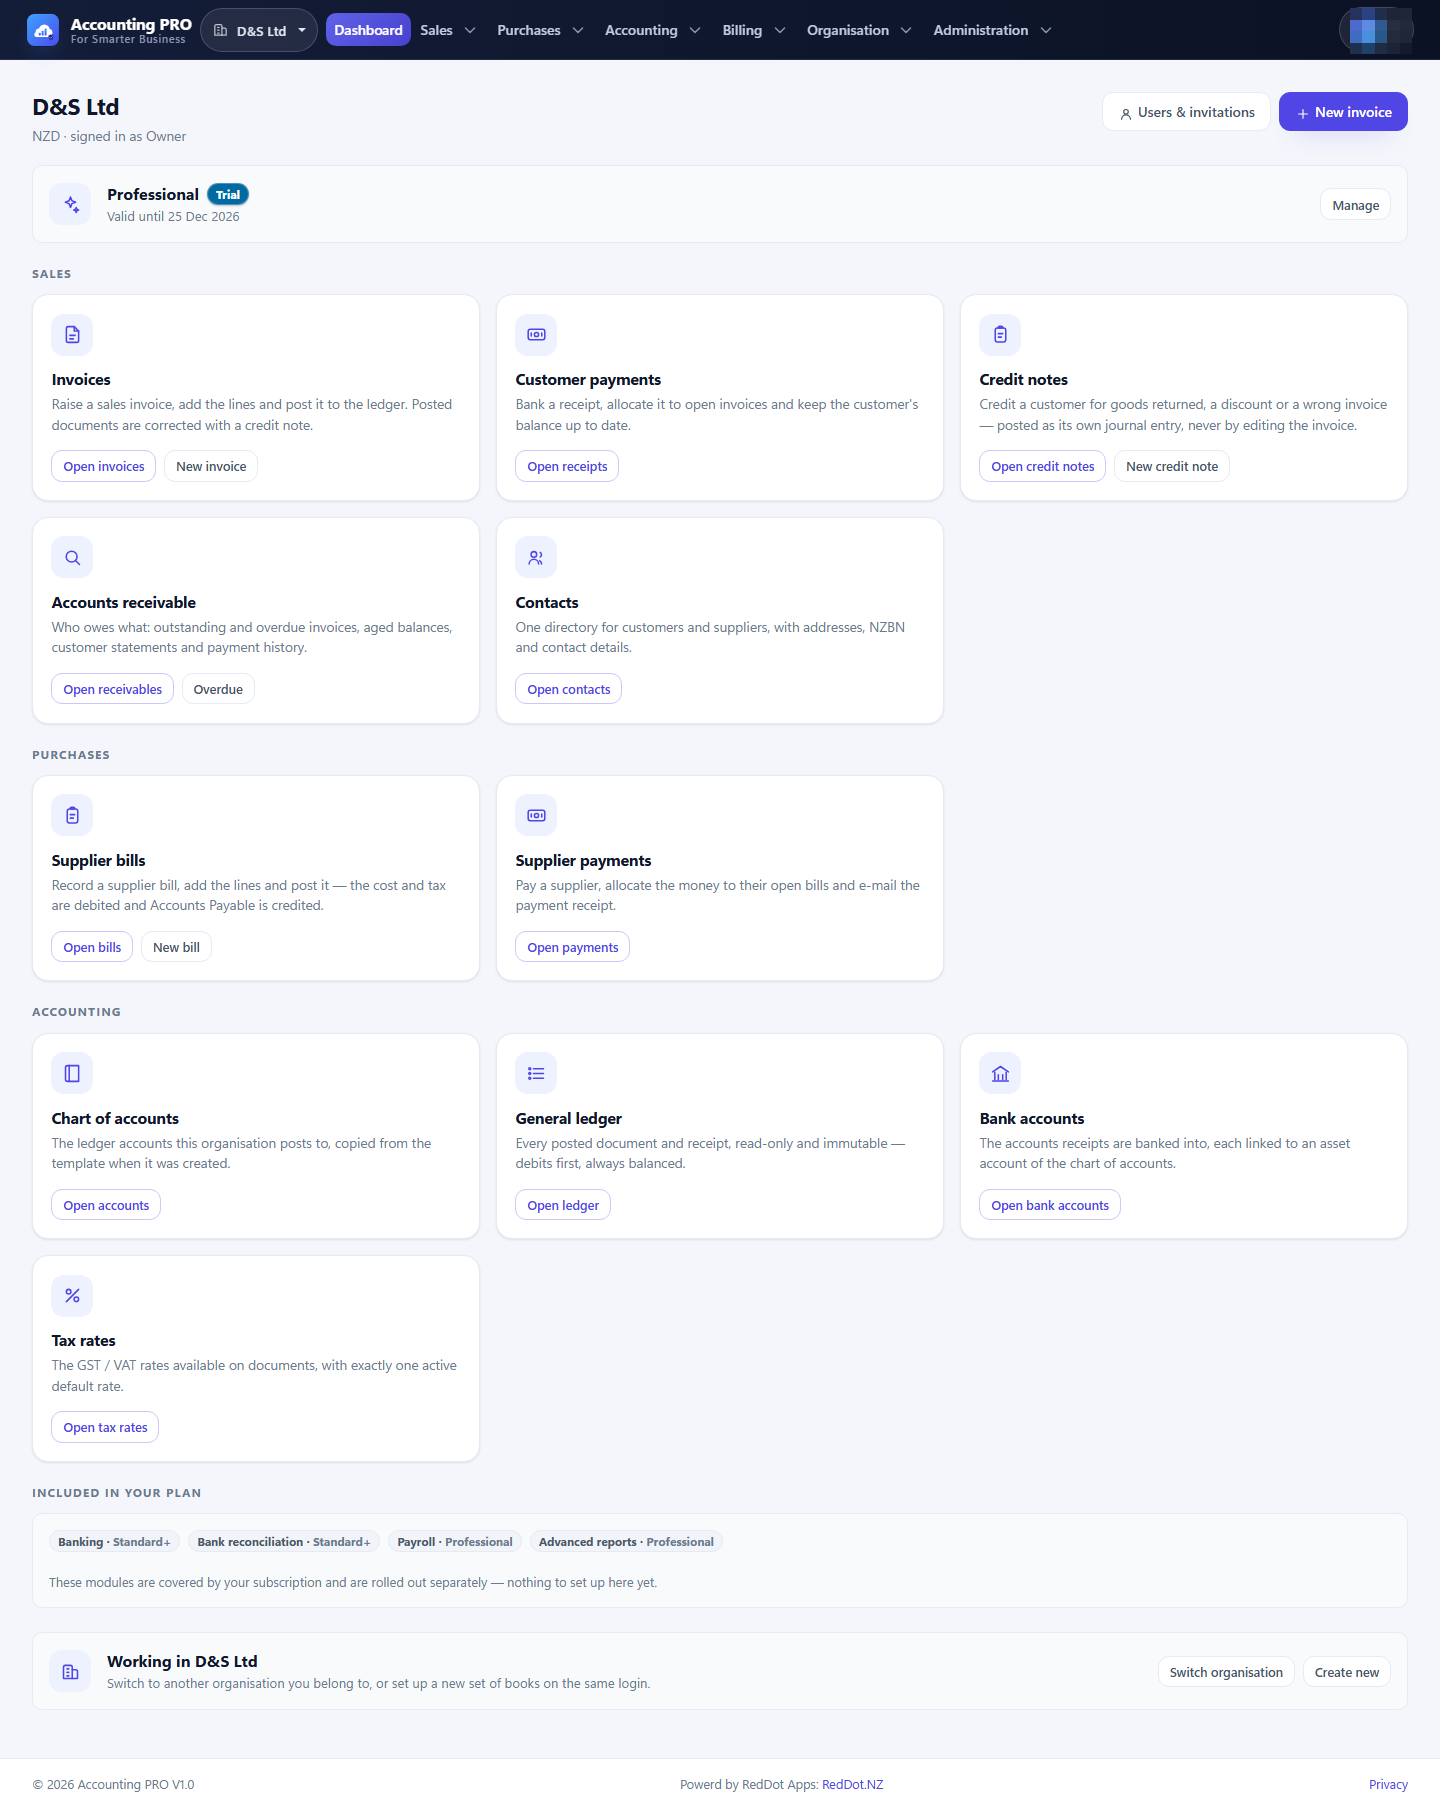
2.6 Switch between organisations
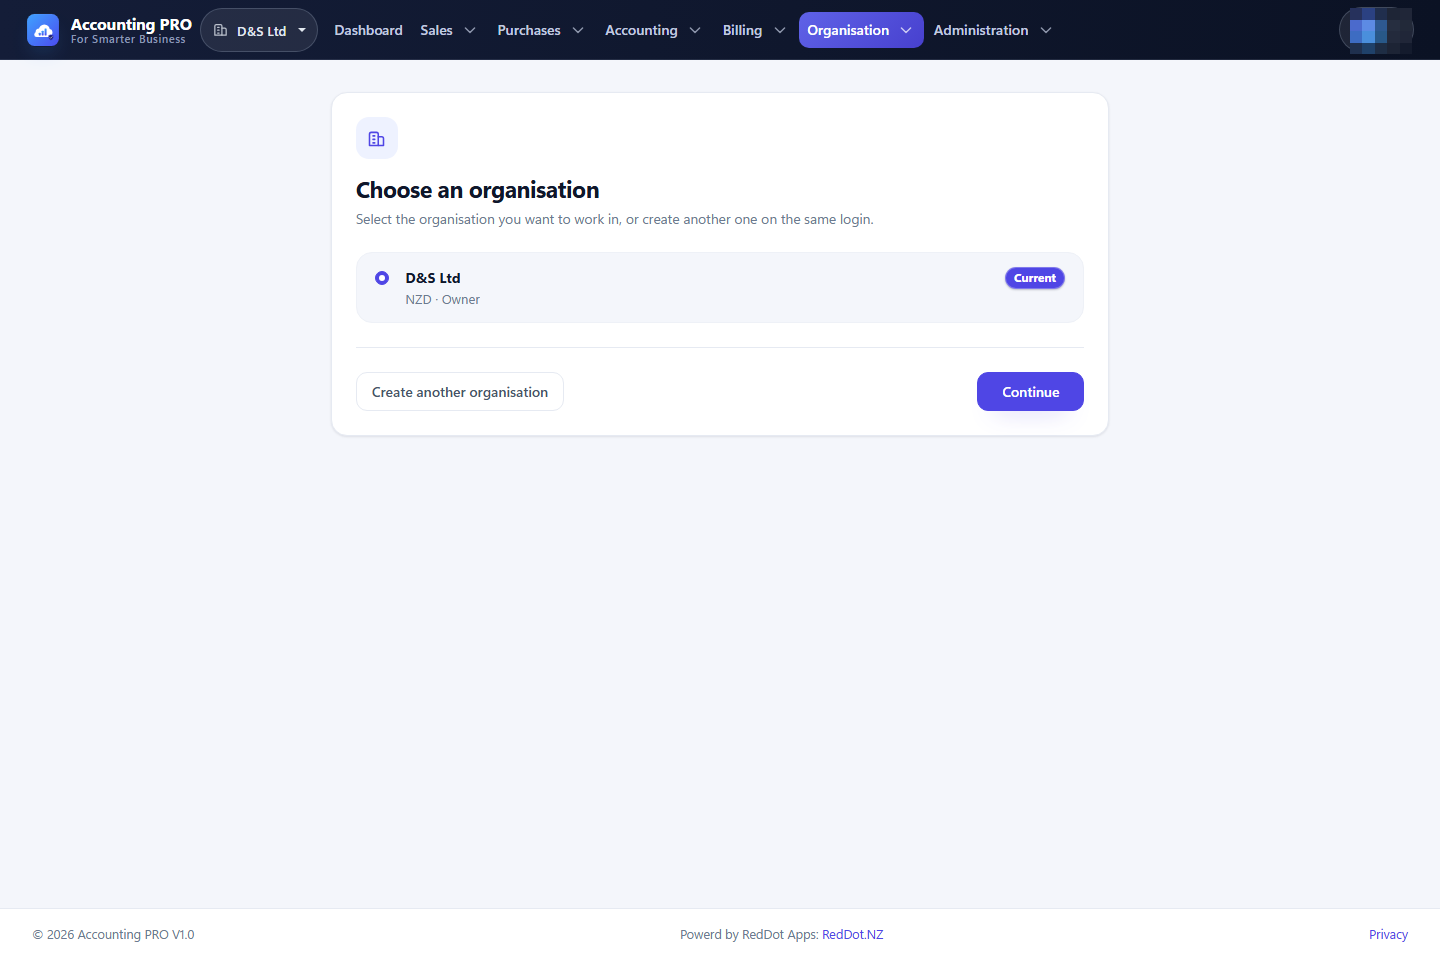
Use the organisation selector in the top bar, or Organisation → Switch organisation, to move between organisations you belong to. The selected organisation is remembered in your session.
- With one organisation you are taken straight to it.
- With several, the application asks you to choose one when no organisation is selected.
- Create new adds another organisation to the same login.
2.7 The public home page
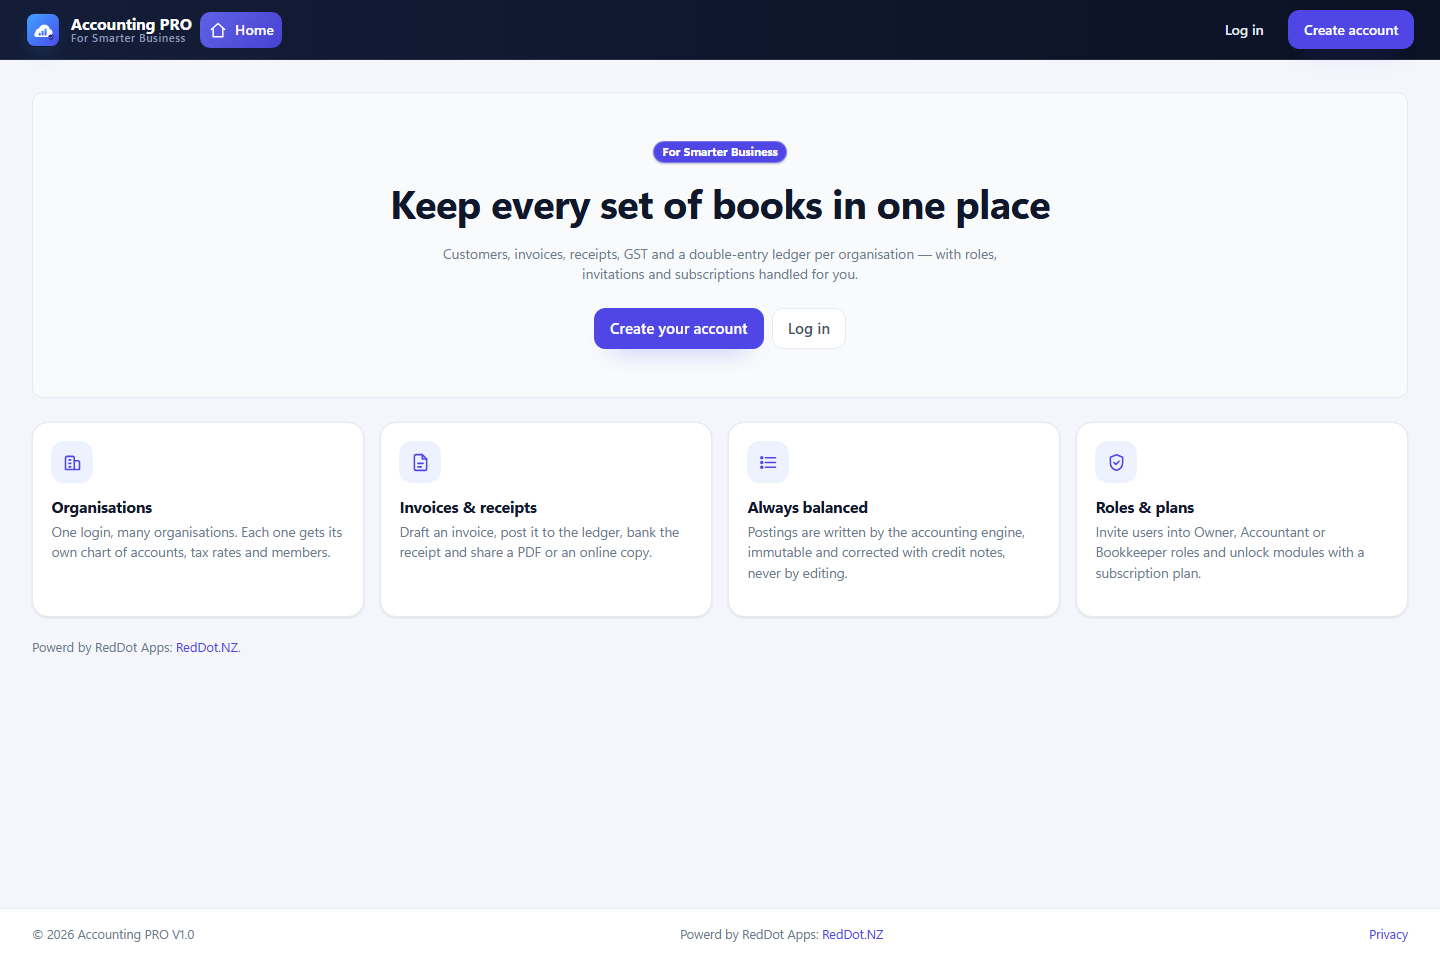
Signed-out visitors see a short product page with sign-in and registration links. Signed-in users are sent to their dashboard.